Instalando o vRealize Automation Agent no Linux
Se o objetivo é utilizar recursos como o Software Components e outros recursos exclusivos do vRealize Automation 7.x que tem integração direta com o sistema operacional, é necessário instalar o vRealize Automation Agent.
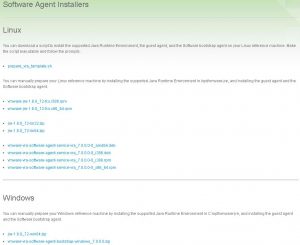
- Converta o seu template Linux para máquina virtual, ligue-o e faça o download do arquivo prepare_vra_template.sh, localizado em https://SEU-vRA:5480/service/software/index.html. Para ambientes de laboratório onde os certificados são auto-assinados, utilize o comando –no-check-certificate 😉
- vRA 7.0 https://SEU-VRA:5480/service/software/download/prepare_vra_template.sh
- vRA 7.1 https://SEU-vRA/software/download/prepare_vra_template.sh
-
wget https://nuvem.s4c.local:5480/service/software/download/prepare_vra_template.sh --no-check-certificate
- Alterar as permissões do script
-
chmod 777 prepare_vra_template.sh
-
- Executar o script
-
./prepare_vra_template.sh
-
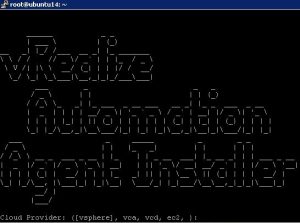
- Basta seguir o “wizard”
- Cloud Provider: vsphere
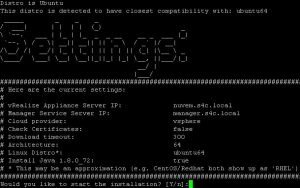
- vRealize Appliance: nuvem.s4c.local
- Manager Service Server: manager.s4c.local (IaaS Server)
- Check Certificate: N
- Download timeout: 300 (default)
- Download and Install Java: Y

- O script irá reconhecer a versão do sistema operacional. No meu caso é um Ubuntu Server 14.04 LTS, reconhecido apenas como ubuntu64. Confira as opções e digite Y para iniciar a instalação
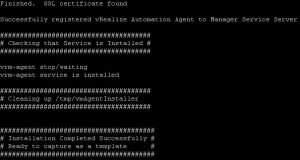
- No final você receberá a mensagem “Successfully registered vRealize Automation Agent to Manager Service Server“. Basta desligar a máquina virtual e converte-la para template
Para instalar o vRealize Automation Agent no Windows, leia o post Instalando o vRealize Automation Agent no Windows
É isso aí, simples e rápido!


